

TL;DR
To connect Xero to HubSpot, install the native Xero by HubSpot (Data Sync) app from the HubSpot Marketplace. Set up Contact sync first, then Product sync, then Invoice sync — in that order. The integration supports bi-directional sync of contacts, products, invoices, and payment status. For workflow automation, use Zapier or Make to trigger HubSpot actions from Xero invoice events.
Why Connect Xero to HubSpot
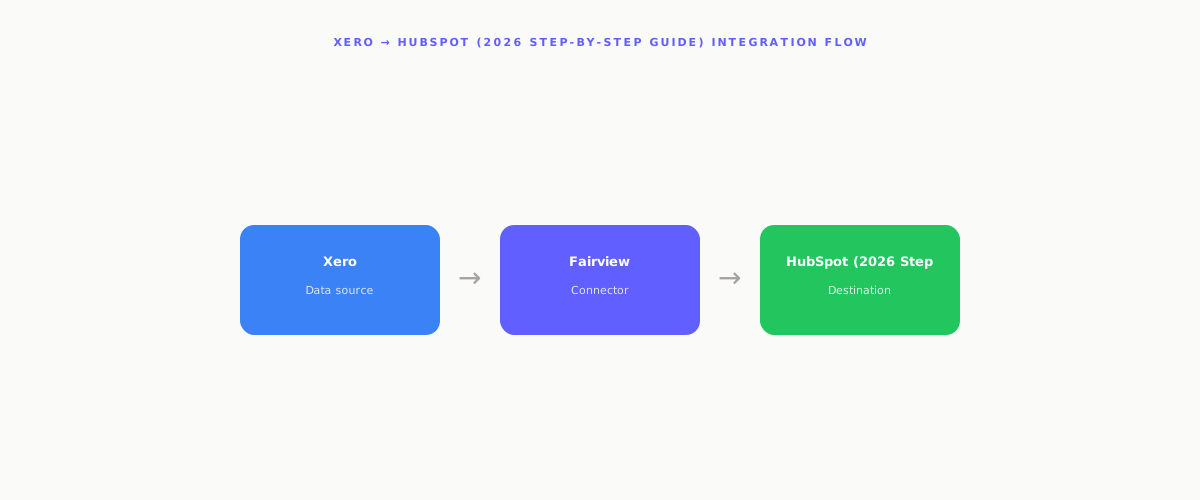
Your sales team closes deals in HubSpot. Your finance team invoices in Xero. Without a connection between the two systems, revenue data lives in two separate silos — and the gap between them costs time, creates reconciliation errors, and leaves customer-facing teams blind to the financial status of every account.
Connecting Xero to HubSpot closes that gap. When the two platforms share data in real time, sales reps see whether an account has outstanding invoices before a renewal call. Customer success managers know which clients are overdue without opening Xero. Finance teams can trace every invoice back to the HubSpot deal that created it — no spreadsheet bridge required.
The business case is straightforward. Finance teams report fewer reconciliation errors. Sales teams reduce time spent on account research before calls. Revenue operations teams gain a single source of truth for pipeline-to-cash reporting. The setup takes under two hours for most teams.
This guide walks through all three connection methods, the recommended setup sequence, field mapping, workflow automation, and the most common troubleshooting issues — so the integration runs cleanly from day one.
What Data Syncs Between Xero and HubSpot
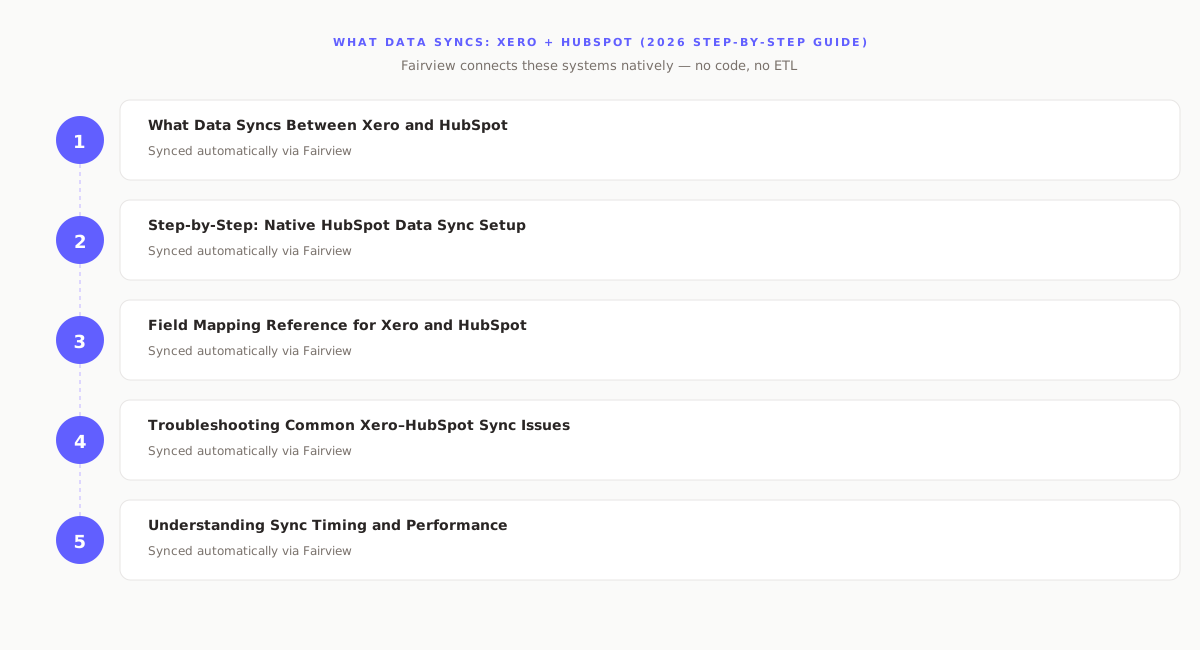
Before choosing a connection method, confirm the data types your business needs to move between the two platforms. The native HubSpot Data Sync integration supports four primary data types.
Contacts sync in both directions and match on email address. When a new contact is added in Xero, it appears in HubSpot within minutes — and vice versa. Products use Xero as the source of truth, so the product catalog flows from Xero into HubSpot line items. Invoices sync bi-directionally but exclude draft invoices. Payments sync from Xero to HubSpot, giving sales and CS teams visibility into who has paid without opening Xero.
Supported currencies include USD, CAD, EUR, GBP, AUD, and NZD. Custom field mappings require a HubSpot Data Hub Starter subscription or higher.
Three Methods to Connect Xero to HubSpot
There are three practical ways to connect Xero to HubSpot in 2026. Each suits a different use case, budget, and technical capability.
Method 1: Native HubSpot Data Sync (Recommended)
HubSpot publishes an official Xero by HubSpot (Data Sync) app in its Marketplace. This is the first method to evaluate for most teams. It is built and maintained by HubSpot, requires no coding, and supports contacts, products, invoices, and payments out of the box. Setup takes under one hour. There is no additional monthly cost beyond your existing HubSpot subscription, though custom field mappings require Data Hub Starter.
Method 2: Zapier
Zapier connects Xero and HubSpot through event-based triggers and actions. A common Zap fires when a new invoice is created in Xero and creates or updates a contact or deal in HubSpot. Zapier is well-suited to one-directional workflows where a specific Xero event should trigger a downstream HubSpot action — such as sending a follow-up sequence when an invoice becomes overdue. Note that Xero is available on Zapier Premium plans only.
Method 3: Make (formerly Integromat)
Make offers more granular control over data transformation and multi-step workflows than Zapier. Teams with complex field mapping requirements — or those who need to route data through intermediate logic before writing it to either system — often prefer Make. It supports scheduled polling and webhook-based triggers from both Xero and HubSpot. Make's free plan covers low-volume scenarios; production workflows typically require a paid plan.
Step-by-Step: Native HubSpot Data Sync Setup
The native integration is the most reliable starting point. Follow these steps in the exact order shown — the integration will fail if Invoice sync is enabled before Contact sync and Product sync are confirmed as active.
Before You Start: Prerequisites
- You must hold Super Admin permissions in HubSpot, or have App Marketplace access granted by a Super Admin
- Custom field mappings require HubSpot Data Hub Starter or higher
- You must have Admin access in Xero
- Both accounts must be active and not in a trial-expired state
Step 1: Install the Xero App from HubSpot Marketplace
- Log in to HubSpot. Click the Marketplace icon (grid icon) in the top navigation bar.
- Select App Marketplace.
- Search for Xero. Select Xero by HubSpot (Data Sync) — not third-party apps listed alongside it.
- Click Install app.
- A dialog box will prompt you to enter your Xero credentials. Enter them and review the requested permissions.
- Click Accept to authorize the connection.
Once authorized, HubSpot will redirect you back to the Connected Apps screen. You will see Xero listed under connected applications. The integration is installed but no data is syncing yet — sync rules must be configured separately for each data type.
Step 2: Configure Contact Sync
Contact sync must be the first data type you configure. Invoices in Xero are associated with contacts — if a contact record does not exist in HubSpot when an invoice syncs, Xero will reject the sync event.
- In HubSpot, navigate to Settings → Integrations → Connected Apps.
- Click Xero, then open the CRM syncs tab.
- Click Contact sync.
- Click the sync direction arrows and choose your direction: Data syncs between apps (bi-directional), Data syncs only to HubSpot, or Data syncs only to Xero. Bi-directional is the recommended setting for most teams.
- Under Data conflict resolution, choose which system wins. Set this to HubSpot if your CRM is the primary customer record, or Xero if billing contacts are maintained there.
- Review the default Mapped fields. First name, last name, email address, and phone map automatically.
- Add custom field mappings by clicking Add a mapping. Map any Xero contact properties that need to appear as HubSpot contact properties.
- Click Save and then Turn on to activate Contact sync.
Step 3: Configure Product Sync
Product sync pulls your Xero item catalog into HubSpot's Products library. This is required before Invoice sync — Xero will reject invoice line items that reference a product SKU that does not exist in HubSpot.
- Return to Settings → Integrations → Connected Apps → Xero → CRM syncs.
- Click Product sync.
- Set direction to Xero to HubSpot. Xero is the source of truth for your product catalog in most setups.
- Verify that the HubSpot SKU property maps to the Xero Item Code field. This mapping is critical — it is the join key that links invoice line items to product records.
- Click Save and activate the sync.
- Wait for the initial sync to complete before proceeding. The first product sync can take up to 15 minutes depending on catalog size.
Step 4: Configure Invoice Sync
Only enable Invoice sync after Contact sync and Product sync are running and their initial syncs are complete.
- Navigate to Settings → Integrations → Connected Apps → Xero → CRM syncs.
- Click Invoice sync.
- Select sync direction. For most teams, begin with Xero to HubSpot to validate the connection before enabling bi-directional sync.
- Configure which invoice statuses to sync. Draft invoices are excluded by design — the integration only processes Approved and Paid invoices.
- Map invoice fields: invoice number, amount due, due date, and status should be mapped to corresponding HubSpot deal or invoice properties.
- Click Save and activate the sync.
- Test with one live invoice. Create or approve an invoice in Xero and verify it appears in HubSpot within 30 minutes.
Field Mapping Reference for Xero and HubSpot
Correct field mapping determines whether the data that arrives in HubSpot is actually useful. Poor mapping means financial data flows across but lands in the wrong properties — creating more confusion than the original manual process.
The most important mapping to verify is Item Code to SKU. This is the join key for invoice line items. If Item Code in Xero does not match the SKU in HubSpot Products, invoice line items will fail to sync and Xero will log an error in the sync activity feed.
For custom fields, navigate to Mapped fields → Add a mapping within each sync configuration. You can map Xero account codes to HubSpot deal properties, or Xero tracking categories to HubSpot custom properties for revenue segmentation.
Triggering HubSpot Workflows from Xero Invoice Status
The native Data Sync integration moves data between systems. It does not trigger HubSpot workflows on its own. To automate actions in HubSpot based on Xero invoice events, a workflow layer is required.
Option A: HubSpot Native Workflows (after invoice sync is active)
Once invoice data flows into HubSpot via Data Sync, you can build HubSpot workflows that react to changes in invoice properties. Common workflow triggers include:
- Invoice status changes to PAID — enroll the associated contact into a post-payment onboarding sequence or send a receipt email
- Invoice due date is past and status is AUTHORISED (not PAID) — create a task for the account manager and send a payment reminder
- Invoice amount exceeds a threshold — notify the CSM or assign a high-value account flag
- New invoice syncs to a contact — update a deal stage to reflect that billing has been initiated
Build these in HubSpot Workflows using the standard Contact or Deal-based workflow builder. Select the invoice property as the enrollment trigger, then define the actions — email, task creation, deal stage update, or internal notification.
Option B: Zapier Trigger from Xero Invoice Events
For tighter event timing, use Zapier to trigger directly from Xero. Zapier polls Xero for new or updated invoice records and fires the trigger without waiting for the 30-minute Data Sync polling interval.
- Create a new Zap. Set Xero as the Trigger app.
- Select the trigger event: New Invoice or Updated Invoice.
- Connect your Xero account and choose the Xero organization.
- Add a Filter step: only proceed if invoice status equals PAID (or OVERDUE, depending on the use case).
- Set HubSpot as the Action app. Choose the action: Add Contact to Workflow, Update Deal Stage, or Create Task.
- Map the Xero invoice fields to the HubSpot properties needed by the action.
- Test and activate the Zap.
Step-by-Step: Setting Up the Xero–HubSpot Integration via Zapier
Use this setup if the native Data Sync does not cover your workflow requirements — or if you want event-driven automation without waiting for the 30-minute sync polling cycle.
- Create a Zapier account and ensure you are on a Premium plan (Xero requires it).
- Click + Create Zap.
- In the Trigger step, search for and select Xero.
- Choose a Trigger Event. The most useful options are: New Invoice, Updated Invoice, New Payment, or New Contact.
- Connect your Xero account. Authorize access to the correct Xero organization if you manage multiple.
- Test the trigger. Zapier will pull a recent Xero record to verify the connection. Check that the data fields shown match what you expect.
- Add an Action step. Select HubSpot.
- Choose an Action Event: Create or Update Contact, Update Deal, Create Task, or Add Contact to List are the most common.
- Connect your HubSpot account and select the correct HubSpot portal.
- Map fields from the Xero trigger data to the HubSpot action fields. Example: Xero Contact Name maps to HubSpot Contact Name; Xero Total maps to HubSpot Deal Amount.
- Add a Filter step between Trigger and Action if you only want the Zap to proceed for specific invoice statuses (e.g., only fire when status = PAID).
- Test the complete Zap. Confirm the HubSpot record is created or updated as expected.
- Click Publish to make the Zap live.
Troubleshooting Common Xero–HubSpot Sync Issues
Most integration failures fall into four categories. Each has a specific resolution.
Issue 1: Contact sync failure — records not matching
Cause: The integration matches contacts on email address. If a contact exists in Xero without an email, or if the email in Xero differs from the email in HubSpot (e.g., a personal vs. work address), the records will not merge — they will create a duplicate or fail to sync.
Fix: Audit contacts in both systems before activating sync. Export Xero contacts to CSV and compare email addresses against your HubSpot contact list. Resolve mismatches before turning on bi-directional sync.
Issue 2: Invoice sync fails with a line item error
Cause: An invoice in Xero references an Item Code that does not exist in HubSpot Products. This happens when Product sync is not active, or when new products were added to Xero after the initial sync ran.
Fix: Navigate to the Xero Product sync and click Sync now to force an immediate refresh. After the product catalog is up to date, the failed invoices should retry automatically within the next polling cycle.
Issue 3: Cannot edit invoice after it syncs
Cause: HubSpot enforces a rule that invoice line items created through external sync applications cannot be modified in HubSpot directly. The error message reads: "Line item or invoice amount modifications in HubSpot native invoices cannot be made through external applications."
Fix: Edit the invoice in Xero only. The change will propagate to HubSpot within the next sync cycle. Never attempt to edit a Xero-originated invoice from within HubSpot.
Issue 4: Tax rates not syncing correctly
Cause: Tax rates created in HubSpot will not sync to Xero. Xero has its own tax configuration and treats incoming tax data from external apps as advisory only.
Fix: Configure all tax rates in Xero before enabling invoice sync. Map Xero tax types to HubSpot line item tax properties. If HubSpot is creating invoices that flow to Xero, ensure the tax type fields in HubSpot match the exact tax type names in Xero.
Issue 5: Sync delay — data not appearing in HubSpot
Cause: The native Data Sync polls Xero for changes every 30 minutes. Changes made in Xero will not appear in HubSpot immediately.
Fix: For time-sensitive updates, use the Sync now button in the Connected Apps settings to trigger an immediate sync. For real-time requirements, replace or supplement the native sync with a Zapier or Make workflow that uses webhook-based triggers.
High-Value Use Cases for the Xero–HubSpot Integration
Once the integration is live, the business value compounds quickly. These are the highest-impact use cases for revenue and operations teams.
Invoice-to-Cash Visibility for Sales and CS Teams
Sales reps can see, directly on a HubSpot contact or deal record, whether an invoice has been sent and paid. Before a renewal or upsell call, the rep checks one screen — not two systems. Customer success managers can flag overdue accounts in HubSpot without opening Xero. This reduces internal coordination overhead and improves the quality of customer interactions.
Automated Payment Follow-Up Sequences
When an invoice becomes overdue in Xero, the status change syncs to HubSpot. A HubSpot workflow enrolls the contact into a follow-up sequence automatically. The sequence can send a polite payment reminder email on day one, a second email on day seven, and create a task for the account manager on day fourteen. No manual tracking required.
Revenue Attribution and Pipeline-to-Cash Reporting
With Xero invoice data in HubSpot, revenue operations teams can build reports that trace revenue from first touch to payment. Which deal sources convert to paid invoices fastest? Which sales reps have the shortest invoice-to-payment cycles? These questions become answerable when CRM and accounting data share the same record layer.
Reduced Double Entry Across Finance and Sales
Before the integration, a deal closed in HubSpot required a manual hand-off to finance to create the invoice in Xero. After the integration, contact records created by sales in HubSpot flow to Xero automatically. Finance teams spend less time re-entering data and more time on analysis. The operational drag of duplicate data entry disappears.
Understanding Sync Timing and Performance
Sync timing affects how quickly your teams can rely on the data in each system. The native Data Sync has different polling intervals depending on direction.
- HubSpot to Xero: Changes made in HubSpot are detected and sent to Xero within minutes.
- Xero to HubSpot: Changes made in Xero are detected every 30 minutes.
- Manual sync: Use the Sync now button in Connected Apps settings to force an immediate sync in either direction.
- Initial sync: The first sync after activation processes all historical records. For large contact lists or product catalogs, allow 30–60 minutes for the initial sync to complete.
For workflows where 30-minute latency is acceptable — such as end-of-day reporting or weekly account reviews — the native sync is sufficient. For real-time alerting, Zapier or Make provide near-instant triggers by polling Xero on a shorter interval or using webhooks.
Key Takeaways
- The native Xero by HubSpot (Data Sync) app is the most reliable starting point. It covers contacts, products, invoices, and payments with no additional cost on standard HubSpot plans.
- Always activate sync types in this order: Contact sync first, Product sync second, Invoice sync third. Activating Invoice sync before the others causes line-item rejection errors in Xero.
- The integration matches contacts on email address. Audit both systems for email mismatches before activating bi-directional contact sync.
- Xero to HubSpot polling runs every 30 minutes. Use Sync now or switch to Zapier for time-sensitive updates.
- Edit Xero-originated invoices in Xero only. HubSpot will reject direct edits to invoice line items created by an external sync application.
- Use HubSpot Workflows or Zapier to trigger automated actions from Xero invoice status changes — payment reminders, deal stage updates, and task creation are the highest-value automations.
- Once Xero invoice data lives in HubSpot, revenue operations gains pipeline-to-cash reporting: deal source to paid invoice, sales rep to invoice cycle time, and overdue accounts by segment.