
TL;DR
HubSpot has a native Google Ads integration that takes under ten minutes to activate. Once live, ad clicks create contacts in your CRM, form fills fire as conversion events in Google Ads, and HubSpot contact lists become targetable audiences. This guide walks through every step — from initial account connection to offline conversion tracking, audience sync, smart bidding configuration, and reporting on pipeline by campaign.
In This Guide
- 1. Why Connect Google Ads to HubSpot
- 2. Prerequisites and Account Requirements
- 3. Step-by-Step: Native Integration Setup
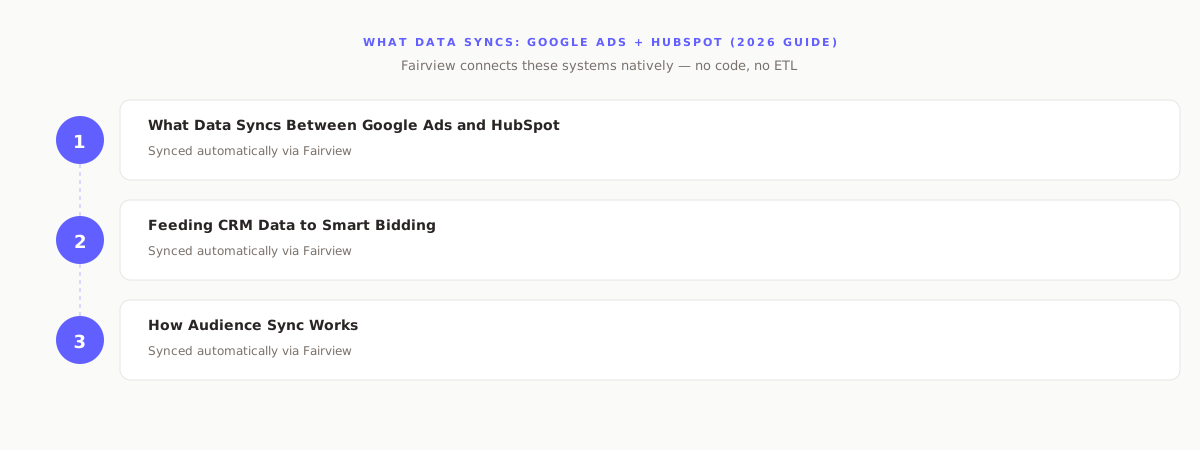
- 4. What Data Syncs Between Google Ads and HubSpot
- 5. Setting Up Offline Conversion Tracking
- 6. Using HubSpot Lists as Google Ads Audiences
- 7. Feeding CRM Data to Smart Bidding
- 8. Reporting on Ad Performance Inside HubSpot
- 9. Troubleshooting Common Errors
- 10. Key Takeaways
- 11. Frequently Asked Questions
Why Connect Google Ads to HubSpot
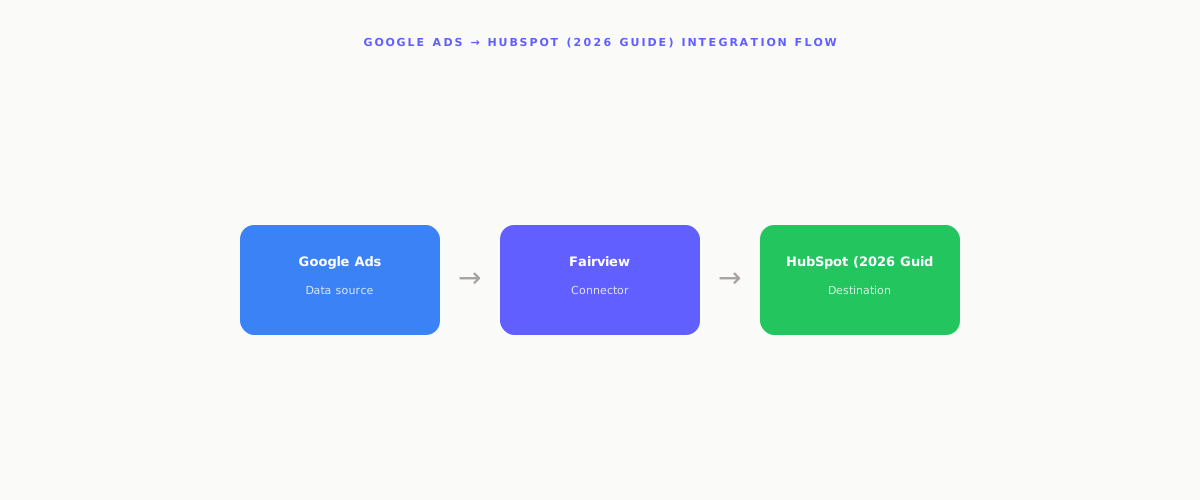
Google Ads reports clicks, impressions, and cost-per-click. HubSpot holds the contacts, pipeline, and revenue. Without a connection, these two data sets never meet — and your team makes ad spend decisions based on Google's view of conversions rather than your actual CRM pipeline.
The gap creates four specific problems for revenue-focused teams:
Without the connection, teams face these outcomes:
- Budget misallocation. Google optimizes for form fills. A campaign with high form volume but zero SQLs keeps spending.
- Attribution blind spots. HubSpot marks every Google lead as "Paid Search" with no campaign or keyword breakdown.
- Smart Bidding on the wrong signal. Bidding toward generic form submissions, rather than qualified pipeline, drives up cost per actual opportunity.
- No audience use. Your CRM holds the best signal of who converts — but that data sits unused by Google Ads without a sync.
The native HubSpot Google Ads integration solves all four. It costs nothing beyond your existing HubSpot subscription tier and takes under fifteen minutes to activate.
Prerequisites and Account Requirements
Before you start the connection, confirm the following. Missing any one of these conditions will cause the integration to fail silently or produce incomplete data.
Two requirements deserve emphasis before proceeding:
Expert Mode is mandatory. New Google Ads accounts default to Smart Mode. Smart Mode accounts cannot connect to HubSpot and cannot be tracked or reported on through the integration. To switch: in Google Ads, click the wrench icon (Tools), scroll to the bottom, and select "Switch to Expert Mode." This switch is permanent.
Manager accounts are not supported. HubSpot only connects to individual Google Ads accounts. If you manage multiple accounts through a Manager (MCC) account, you must connect each individual sub-account separately.
Step-by-Step: Native Integration Setup
The native integration lives inside HubSpot's Ads tool. Follow these steps in sequence.
Step 1: Open the Ads Settings in HubSpot
In your HubSpot portal, click the settings gear icon (top right). In the left sidebar, navigate to Marketing → Ads. Select the Accounts tab at the top of the page.
Step 2: Connect a Google Ads Account
Click Connect account. A dialog appears with supported ad platforms. Select Google Ads. HubSpot redirects you to Google's OAuth authentication flow.
Step 3: Authenticate with Google
Sign in with the Google account that has Admin access to your Google Ads account. Grant the requested permissions. Google redirects you back to HubSpot after authentication.
Step 4: Select Your Google Ads Account
HubSpot displays all Google Ads accounts accessible by your authenticated Google account. Select the checkboxes next to the accounts you want to connect. You can connect multiple individual accounts at this step. Click Connect account(s).
Step 5: Configure Tracking Pixel
HubSpot prompts you to add the Google Ads conversion pixel. Choose one of two options:
- Let HubSpot manage it. If HubSpot's tracking code is on your site, enable this option. HubSpot deploys the pixel through its existing code. This avoids double-counting if the pixel is not already installed elsewhere.
- Manage it yourself. If Google Tag Manager or another tool already fires the Google Ads pixel, skip HubSpot deployment. Confirm the existing pixel is active.
Step 6: Verify the Connection
Return to Settings → Marketing → Ads → Accounts. Your Google Ads account now appears with a green "Connected" status. Click the account name to review auto-tracking settings and confirm the connection details are correct.
From this point, HubSpot pulls all existing campaigns, ad groups, ads, and keywords from your Google Ads account. They appear in your HubSpot Ads dashboard within 24 hours.
What Data Syncs Between Google Ads and HubSpot
Understanding exactly what flows between the two systems prevents false expectations about what the integration delivers by default.
From Google Ads to HubSpot
- Campaign attribution on contacts. When a contact fills out a form after clicking a Google Ad, HubSpot stores the campaign name, ad group, and keyword on the contact record. This data appears in the contact's "Original source" and attribution fields.
- Performance metrics in Ads dashboard. Impressions, clicks, cost, and click-through rate pull from Google Ads and appear in the HubSpot Ads dashboard alongside form submission and contact-creation counts.
- Auto-tagging (GCLID). When auto-tagging is enabled in Google Ads, every click appends a unique Google Click ID (GCLID) to the landing page URL. HubSpot captures this GCLID in a cookie and stores it on the contact record. This ID is the foundation for offline conversion tracking.
From HubSpot to Google Ads
- Offline conversions. HubSpot sends GCLID-matched conversion signals back to Google Ads when contacts reach defined lifecycle stages. This tells Google which clicks actually produced qualified leads — not just form submissions.
- Audience lists. HubSpot contact lists sync to Google Ads as Customer Match audiences. You can target, exclude, or build lookalike audiences from any segment in your CRM.
- Conversion values. If configured, HubSpot passes deal values with each offline conversion, giving Smart Bidding a revenue signal to optimize against rather than a binary conversion count.
Setting Up Offline Conversion Tracking
Offline conversion tracking is the highest-value configuration in this integration. Without it, Google Ads sees only your form fills — it has no view of which form fills became SQLs, opportunities, or closed revenue. Smart Bidding optimizes toward low-quality conversions as a result.
Offline conversion tracking sends a conversion signal to Google Ads when a contact advances through your sales process. The signal is matched back to the original click using the stored GCLID.
This feature requires HubSpot Marketing Hub Professional or Enterprise. It also requires auto-tagging to be enabled in your Google Ads account.
Step 1: Enable Auto-Tagging in Google Ads
In Google Ads: click the wrench icon → Account Settings → Auto-tagging. Confirm "Tag the URL that people click through from my ad" is checked. This ensures every click receives a GCLID.
Step 2: Verify GCLID Capture in HubSpot
Visit a page on your site by clicking a Google Ad (or simulate one by appending ?gclid=test123 to a URL). Submit a test form. Open the resulting contact in HubSpot and confirm the "Google Ad Click ID" field is populated.
Step 3: Create a Conversion Event in HubSpot
In HubSpot: navigate to Marketing → Ads, then select the Events tab. Click Create event. Configure the following fields:
- Event name. Use a name that matches the lifecycle stage or action — for example, "SQL Created" or "Demo Booked."
- Trigger. Set the trigger to a HubSpot property change — such as Lifecycle Stage changing to "Sales Qualified Lead" or a deal stage advancing.
- Conversion value (optional). Enter a fixed value or map to the associated deal amount. A revenue signal improves Smart Bidding quality significantly.
- Include in conversions. Toggle this on so Google counts this event in its conversion column and uses it for Smart Bidding.
Step 4: Map the Event to a Google Ads Conversion Action
After saving, HubSpot prompts you to map this event to an existing Google Ads conversion action or create a new one. Choose "Import from HubSpot" as the conversion source in Google Ads. Confirm the action category (Lead, Qualified Lead, Purchase) matches your intent.
Step 5: Wait and Verify
Offline conversions upload on a daily schedule. Allow 24 to 48 hours after your first triggered conversion. In Google Ads, navigate to Goals → Conversions → Summary and confirm the HubSpot-sourced conversion action shows recent data. A status of "Recording conversions" confirms the pipeline is live.
Important: Attribution Window
Google Ads stores GCLIDs for 90 days by default. If a contact converts more than 90 days after their original click, the GCLID will not match and the conversion will not upload. For long sales cycles, confirm your attribution window in Google Ads conversion settings matches your actual average cycle length.
Using HubSpot Lists as Google Ads Audiences
The HubSpot-to-Google Ads audience sync converts your CRM segments into targetable Customer Match lists. This is among the highest-value uses of the integration — your CRM holds behavioral and firmographic data that Google Ads cannot construct on its own.
How Audience Sync Works
HubSpot sends hashed email addresses from your contact lists to Google Ads. Google matches these hashes against signed-in Google accounts and builds an audience you can use for targeting, exclusion, or as the seed for a similar audience.
The sync runs continuously. When a contact is added to or removed from a HubSpot list, the corresponding Google Ads audience updates within 24 hours.
Creating an Audience in HubSpot
- Navigate to Marketing → Ads in HubSpot.
- Click the Audiences tab.
- Click Create audience.
- Select Contact list as the audience type.
- Choose an existing HubSpot list or create a new one with the segment criteria you need.
- Select the Google Ads accounts to sync this audience to.
- Click Create. HubSpot begins the initial upload immediately.
High-Value Audience Segments to Build
Not all audiences deliver equal lift. These segments tend to produce the strongest signal for Google Ads campaigns:
- Closed-Won customers. Use as the seed for Similar Audiences to find net-new prospects who resemble your best buyers.
- High-intent MQLs who did not convert. Re-engage leads who entered the funnel but stalled before an SQL stage.
- Churned customers. Add as an exclusion list to stop wasting budget on contacts who already left.
- Current customers. Exclude from prospecting campaigns. Target with expansion campaigns for upsell or cross-sell offers.
- ICP-match contacts by lead score. Build a list of contacts above a minimum lead score threshold and use for RLSA (Remarketing Lists for Search Ads) to bid higher when high-fit contacts search for your keywords.
Minimum List Size Requirement
Google Ads requires a minimum of 1,000 matched users before activating a Customer Match audience for targeting. Upload lists before you need them — matching takes 24 to 48 hours and match rates typically run 40 to 60 percent of your list size. A list of 2,000 contacts may produce only 800 to 1,200 matched users.
Feeding CRM Data to Smart Bidding
Smart Bidding strategies — Target CPA, Target ROAS, Maximize Conversions, and Maximize Conversion Value — require high-quality conversion signals to function correctly. The default signal is a form submission. Form submissions are a poor optimization target: they include spam, competitors, and unqualified leads.
Replacing form-fill conversions with CRM-sourced lifecycle signals fundamentally changes what Smart Bidding optimizes for. Instead of minimizing cost per form fill, the algorithm minimizes cost per SQL or cost per closed deal.
Configuring Smart Bidding with HubSpot Signals
After offline conversion tracking is live and recording data (Section 5), take the following steps to wire it into Smart Bidding:
- In Google Ads, open the campaign you want to optimize.
- Click Settings → Bidding.
- Select your Smart Bidding strategy. For B2B lead generation, "Maximize Conversions" with a target CPA works well once the campaign has 30+ conversions per month from the CRM signal.
- Under Conversions, click "Change conversion action settings" and select only the HubSpot-sourced conversion actions (SQL Created, Demo Booked, etc.). Deselect generic form-fill conversion actions if they remain active.
- Set a realistic target CPA based on your historical cost per qualified lead, not cost per form fill.
Passing Conversion Values for Target ROAS
If you pass deal values with your offline conversions, Target ROAS bidding becomes available. This strategy optimizes for revenue rather than conversion count — Google bids more aggressively for searches that historically produce high-value deals and less on searches that produce low-value ones.
To pass deal values: when creating the conversion event in HubSpot (Section 5, Step 3), set the conversion value field to pull from the associated HubSpot deal's "Amount" property. HubSpot sends this value with each uploaded conversion.
For Target ROAS to stabilize, Google recommends a minimum of 50 conversions with values over a 30-day window. Below this threshold, use Target CPA with a fixed value estimate instead.
Reporting on Ad Performance Inside HubSpot
Once the connection is active, HubSpot's Ads dashboard becomes your primary view of Google Ads performance — augmented with CRM data that Google Ads cannot show on its own.
Core Reports Available in HubSpot Ads Dashboard
- Campaign performance table. All active Google Ads campaigns listed with impressions, clicks, cost, contacts created, and customers — side by side. This is the view that makes campaign quality visible without switching to Google Ads.
- Ad-level breakdown. Drill down from campaign to ad group to individual ad. See which ad copy produces the most contacts, not just clicks.
- Keyword report. Which keywords drove contact creation. This view is essential for identifying high-intent terms worth increasing bids on and low-quality terms worth adding as negatives.
- Contact source attribution. In HubSpot's contact reports, filter by "Original source = Paid Search" and group by campaign to see which Google Ads campaigns produced which contacts in your CRM.
Building Custom Revenue Attribution Reports
HubSpot's standard ads reporting shows contacts and form submissions. To see pipeline and revenue attributed to campaigns, you need HubSpot's Attribution Reports feature (Marketing Hub Professional+) or a custom report builder query.
To build a pipeline-by-campaign report in HubSpot's custom report builder:
- Open Reports → Reports and click Create custom report.
- Select Deals as the primary data source.
- Add a filter: Contact original source = Paid Search.
- Group by Contact original source drill-down 1 (this field holds the campaign name).
- Add metrics: Deal Amount (sum), Deal Count, and Win Rate.
- Save and add to a dashboard shared with your marketing and revenue teams.
This report shows revenue attributed to each Google Ads campaign, not just clicks. If Campaign A produces 200 clicks and $50K in pipeline, while Campaign B produces 300 clicks and $12K in pipeline, Campaign A deserves more budget regardless of CPC.
Troubleshooting Common Errors
The Google Ads to HubSpot integration is reliable once active, but setup errors are common. These are the five most frequent problems and their resolutions.
Error 1: Account Not Showing in HubSpot
Cause: You authenticated with a Google account that does not have Admin access on the Google Ads account, or the account is a Manager (MCC) account.
Fix: Confirm your Google account has Admin-level access on the individual account at ads.google.com → Access and security. If the account you need is under an MCC, connect it directly, not through the manager account.
Error 2: GCLID Not Stored on Contacts
Cause: Auto-tagging is disabled in Google Ads, or the HubSpot tracking code is not firing on the landing page where the form lives.
Fix: Enable auto-tagging (Google Ads → Settings → Account Settings). Verify the HubSpot tracking code fires on your landing pages using Google Tag Assistant or the HubSpot tracking code checker under Settings → Tracking Code.
Error 3: Offline Conversions Not Uploading
Cause: The GCLID on the contact is older than the attribution window, or the conversion event in HubSpot is not triggering correctly.
Fix: In Google Ads, extend the attribution window to 90 days under Goals → Conversions → [conversion action] → Attribution. In HubSpot, review the conversion event's trigger logic under Marketing → Ads → Events. Test by manually advancing a contact's lifecycle stage and waiting 48 hours for the upload cycle to run.
Error 4: Audience List Stuck in "Pending"
Cause: The contact list has fewer than 1,000 matched users, or the initial upload is still processing.
Fix: Allow 24 to 48 hours for initial upload. If the list remains pending after 48 hours, check the match rate in Google Ads under Tools → Audience Manager → Your Data Segments. A match rate below 20 percent often indicates email format issues — ensure your HubSpot contacts have valid primary email addresses.
Error 5: Campaigns Showing Zero Contacts in HubSpot
Cause: Forms on your landing pages are not using HubSpot forms, or the UTM/GCLID parameters are being stripped by a redirect.
Fix: Convert landing page forms to native HubSpot forms so the tracking code can capture the GCLID before submission. If you use a third-party form tool, add a hidden field named "google_ad_click_id" and populate it via JavaScript from the URL parameter. Verify no server-side redirect strips query parameters before the landing page loads.
Key Takeaways
- 1. The native HubSpot Google Ads integration is free with Marketing Hub Starter and above. Setup takes under fifteen minutes if prerequisites are met.
- 2. Auto-tagging must be enabled in Google Ads before GCLID capture works. Without the GCLID, offline conversion tracking and attribution both fail.
- 3. Offline conversion tracking (HubSpot Professional+) sends lifecycle stage signals back to Google Ads. This changes Smart Bidding targets from form fills to qualified pipeline.
- 4. HubSpot contact lists sync to Google Ads as Customer Match audiences. Closed-won customers as a Similar Audience seed, and churned customers as an exclusion list, are the two highest-priority segments to create first.
- 5. HubSpot's Ads dashboard reports contacts and form fills per campaign. Revenue attribution requires the custom report builder or Attribution Reports (Professional+).
- 6. The five most common errors are: missing Admin access, disabled auto-tagging, expired GCLIDs, undersized audience lists, and form tools that strip query parameters.
- 7. Passing conversion values (deal amounts) with offline conversions activates Target ROAS bidding — Google optimizes for revenue, not conversion count.